
Installing & Repairing A Toilet
VIDEO TRANSCRIPT
We’re going to start with the water connection. Now, any plumbing fixture should have a separate service shut off. We’re going to install one like this right on this pipe. But right now, we have full water pressure behind that pipe so we don’t want to cut it yet. What we need to do is to shut the water coming into the house. I know where that is.
Oh, do that. Great. Alright. Richard, I’ve shut off the main and opened up all the sinks upstairs. Alright. So let’s open up this faucet right here and some of the last of water will drip out but we won’t get all of it. So is there’s still going to be some water right here. So when we cut it we’ll catch it in the shallow pan. Now before we cut it, I always like to clean the pipe first, and this is an emery cloth. Alright. That looks clean enough. Now, we’re going to install this shut-off and it’s a solderless connection. There’s a nut right here we’ll tighten up and they also have this nice chrome flange. So we actually want to cut the pipe off right about there.
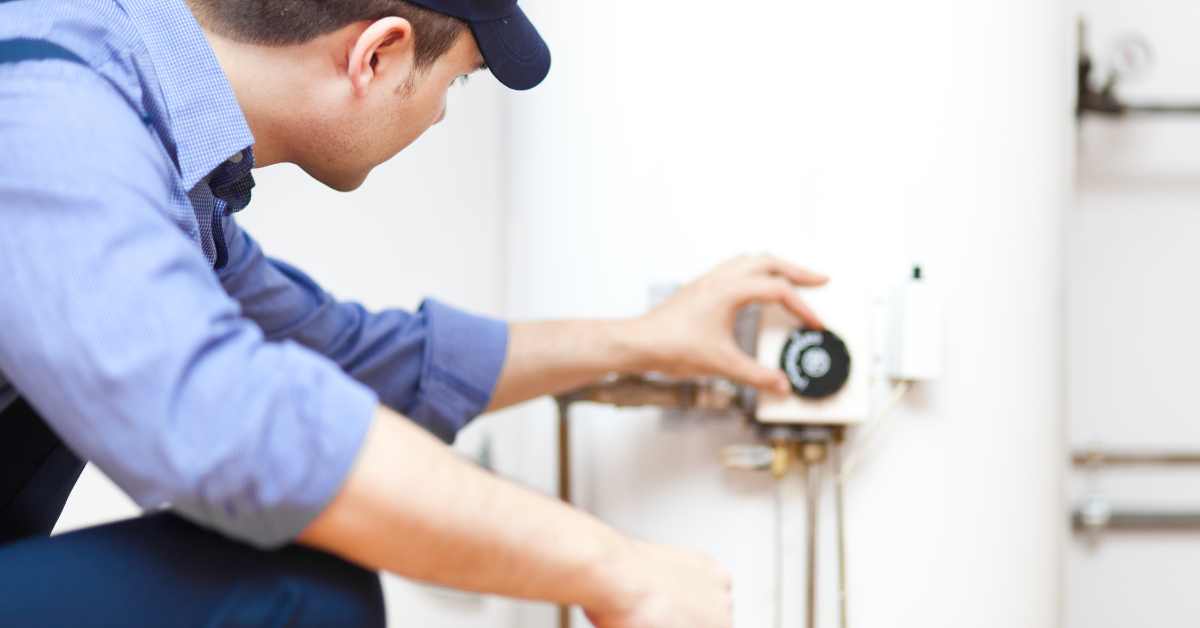
Toilet Plumbing Service
Good. Okay, here comes. Not too bad. Now we put our escutcheon plates on. And now, this is our compression stop and the connection is made up of a nut, a brass ring that goes over the copper and the fitting itself. So there’s the nut, the brass ring goes over the copper. And now as we tighten up this nut, it will actually deform that brass ring right down onto the copper so tight that it makes a watertight connection. So we snug it up by hand and finish it off with two inches. Alright. So that water is back on, our shut off is holding tight. Now we’re going to talk about the drain connection. We need to install this closet flange.
It needs to secure to this PVC pipe right here and also to the floor below it. Now let me put a little rag in here to keep the sewer gas from coming up through here. Now, I put this on- look how much higher it is than the floor, it’s about five inches and I need it to be all the way down. What you got below the floor is a pipe like this. It goes down, there’s an elbow below the floor and it’s glued in place. I want to short it but look, I can’t actually take a saw like this because five inches is a point down below the floor. There’s a special drill bit for this, this is a special cutter wheel that will allow me to go down inside the pipe- five inches- and cuts it exactly at the right depth. Alright. So I’m looking to cut about five inches off of that pipe and so there’s the blade. And look, that brings it to just about the shoulder of that drill bit, that’s pretty lucky for me.
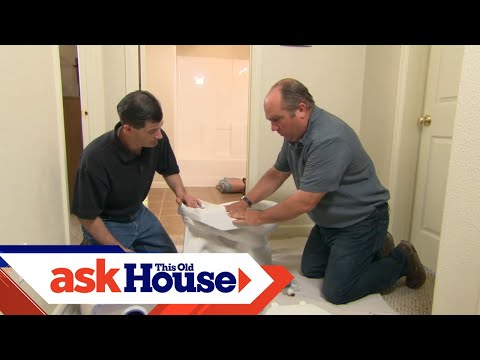
Okay. Good. But I still can’t fit that flange down over the pipe until I remove some of this thinset. So what I’m going to try to do is to get this wrap off of the outside of this pipe. Somebody did us a real favour leaving this spacer in here. Good. Alright. So let’s give it a test. So here’s our flange, we want to be sure we install it in a certain way because I need to be sure that these closet bolts- they’re the brass bolts that will hold the toilet to the flange- are positioned at nine and three in relation to the wall. And let’s see if it goes down far enough. Perfect. So now we’re ready to pull this back up, glue it and secure it to the floor.
So I apply primer and cement to both the flange and the pipe and glue them together. I’m drilling the ceramic tile with masonry but and I’m securing that flange with masonry anchors. Alright, Ryan. So here’s your standard two-piece toilet- it has a bowl and a tank. It always comes with this, it’s called a close couple kit, which includes the gasket- I want you to lift that right up for me, would you? That’s the gasket that’s going to go between the tank and the bowl to make a watertight seal. As you can see, there are a couple of brass bolts right there, set it right down.
And I’m going to give you this: a couple of nuts and a special wrench that you can tighten up those bolts to the tank. Alright. I’ll just hold back on this screw up here while you tighten up those bolts, alright. Let’s also put the toilet seat on while we’re out here. I’ll give you these two nuts at the bottom, a couple of these plastic screws go down. Again, I’ll hold back while you tighten them up. Alright, that should be tight enough. There are a couple of bolt holes here at the bottom, that’s where those closet bolts that come out of our flange are going to stick up through. Now, we need to make a nice tight seal at the bottom of this toilet. So to do that, we’re to introduce a wax ring that’s going to sit right here and it’s going to seal against sewer gas leaking out or water leaving the bottom of the toilet. I’m going to put this onto the flange, you can tip that back up and bring it in.
Bring it in, lift with your legs, be careful of your back. Get it centre right over the bolt holes and once you see them, drop it straight down. When you get it close push it down. Good. That wax seal will just squeeze right to that bottom. Beauty. Now to trim out this bolt, we have a bolt cap base and it’s marked this side up, a stainless washer and a nut. We’ll tighten them up on both sides and that will really squeeze that wax seal tight and I’ll snug them up with an adjustable open-end. And we’ll do the same on the other side and go back and forth between the two. I really don’t want to over-tighten these things and snap the porcelain.
So the closet bolts are now snug, the toilet is really solid but, you’ll notice that the bolt is too long for the bolt cap to fit over it. So for that, we use a mini hacksaw and that will cut that brass bolt to length. Perfect. The last connection to make is the water supply from our new shut off to the bottom of our toilet tank and for that, we’re going to use a stainless steel flexible water supply. Now, our new shut off came with another nut and a [Not clear] but we don’t need to use those because the new flexible connector has watertight connections of their own. Okay. Turn the water on. That’s a good sound. Alright, Ryan, the tank is filled with water. We don’t have any leaks. You get the honour of the first flush. Thanks. That’s awesome!